
I am very thankful for the many clients I have who allow me a wide degree of freedom to explore new designs and techniques in the furniture I create for them. This latitude keeps the work fresh and interesting and helps to motivate me on those days when I would like to be doing something else besides making a living.
I have always had a preference for working in solid wood as opposed to working with veneers. I like being able to sculpt, taper, and plane solid wood knowing that it is the same beautiful stuff all the way through. At the same time there is a great deal of veneered furniture that I am inspired by and find aesthetically appealing. Art Deco is one period that falls into this category for me. Colorful, exuberant, energetic, and elegant are all descriptive of Deco furniture, and much of the decorative impact found in it is achieved through the use of eye catching veneers.
I wanted to express some Deco influences in the piece I am currently building, but I also wanted to make it in solid wood. To achieve this goal I decided to experiment with joining contrasting pieces of solid woods to one another along some deco inspired curved lines. On paper my designs looked sleek and simple, but actually achieving them proved to be more challenging than the drawings might suggest.

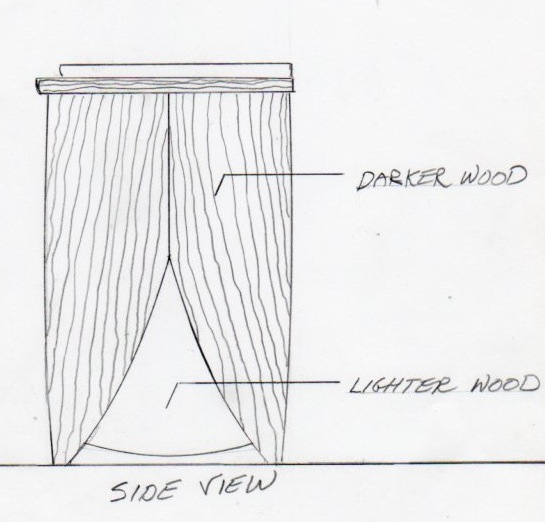
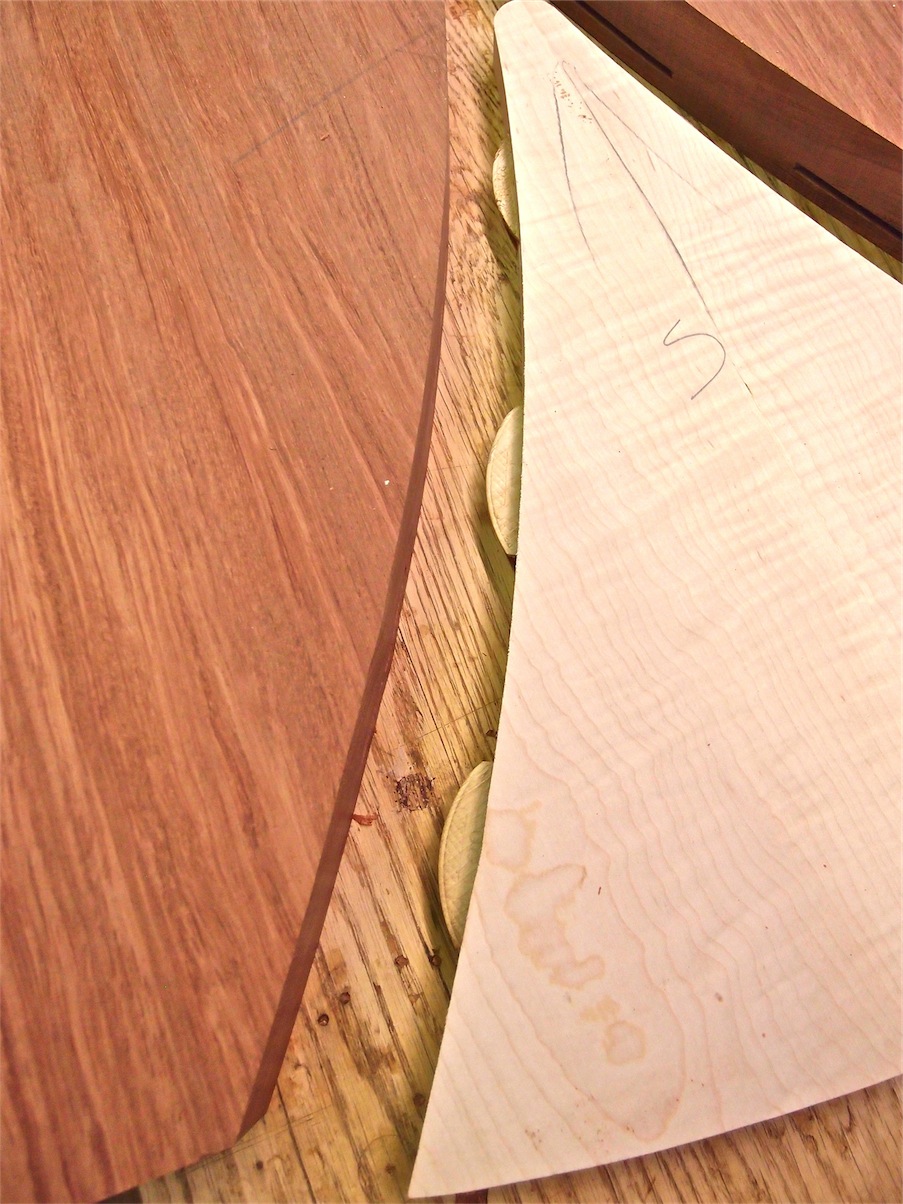
To perfectly mate the fan shaped curly maple pieces to the bubinga in the sides of this dresser required that I make first make matching patterns that could be attached to my parts with double stick tape and then trimming the parts to exact size with a pattern making bit. If there are readers who would like to know more about how to create mating patterns, leave me a message with your request, and I will do a separate post on how to produce the patterns, a somewhat involved but not especially difficult process.
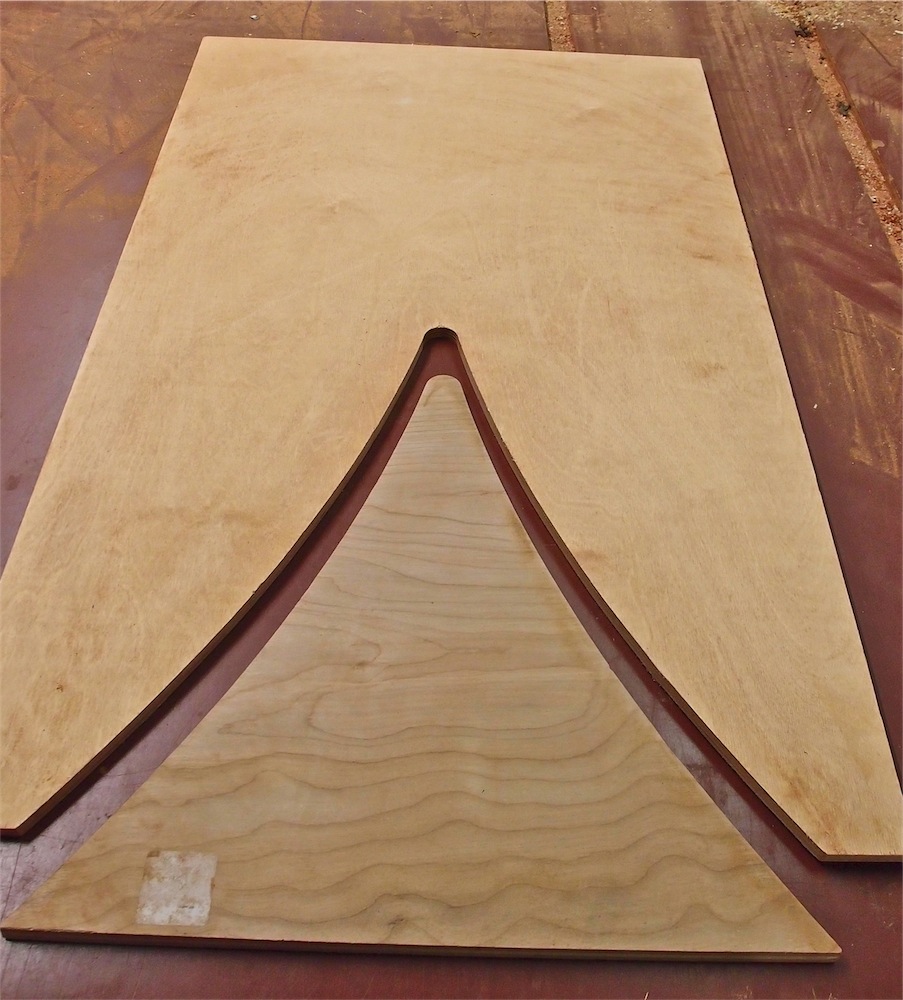
Because solid wood is always expanding or contracting to adapt to the relative humidity, it is essential to clearly understand that when creating mating parts in solid wood, the grain must be running the same direction in both parts. Since the grain in the bubinga will be running vertically, the grain in the curly maple must also run in the same direction. To do otherwise would be to court disaster because of wood movement.
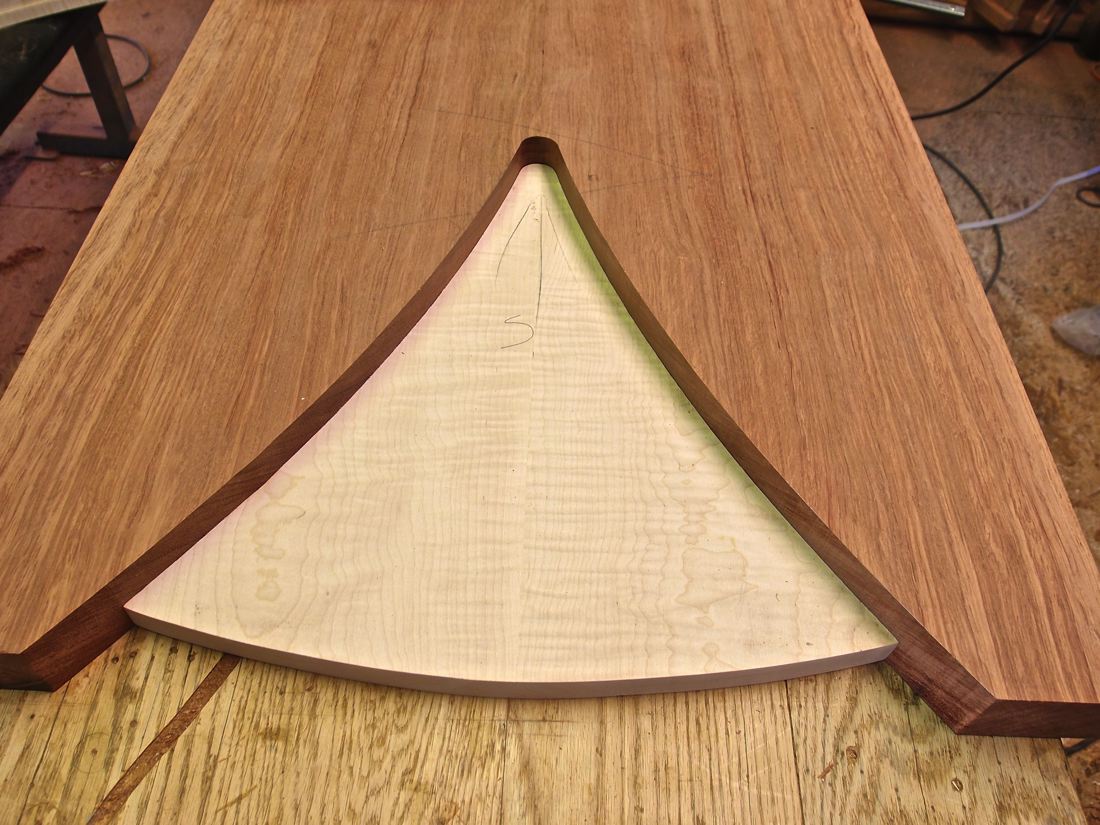
Once I had my perfectly matched pieces, I reinforced their mating edges with wood biscuits and glued them together.
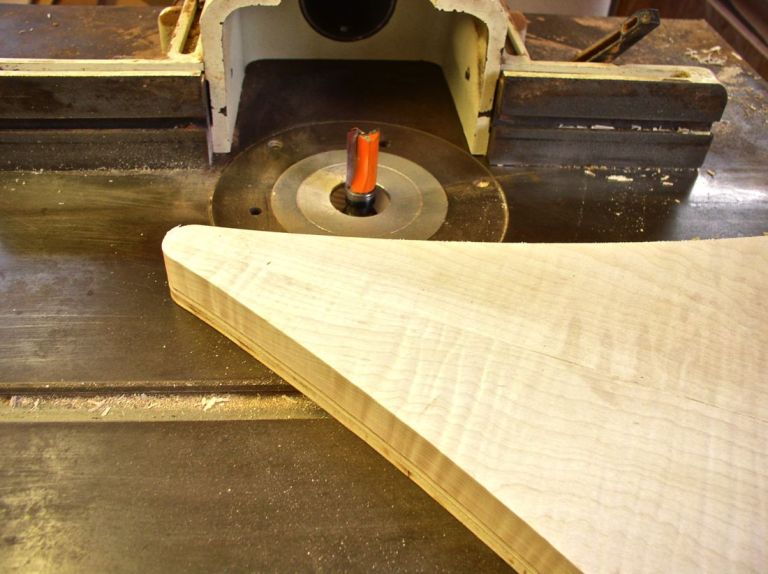
Next up was to put an elegant curving taper in my sides from top to bottom. The only way I could figure out to achieve this was to hand plane the taper, a laborious and daunting task in solid bubinga which is hard as iron and prone to tear-out. To ease the pain of this process I began with an electric hand planer to remove the bulk of the material.

When I got close to the line I had drawn on the edge, I switched from the electric plane to a very sharp hand plane.
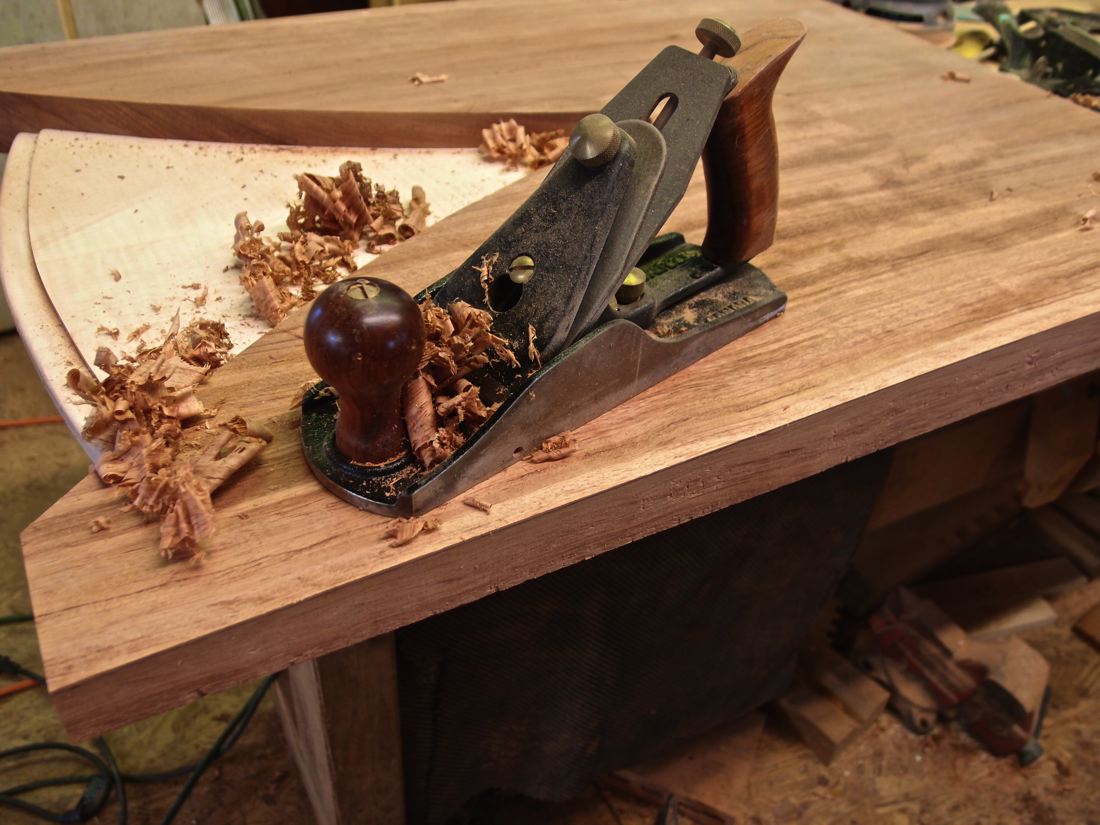


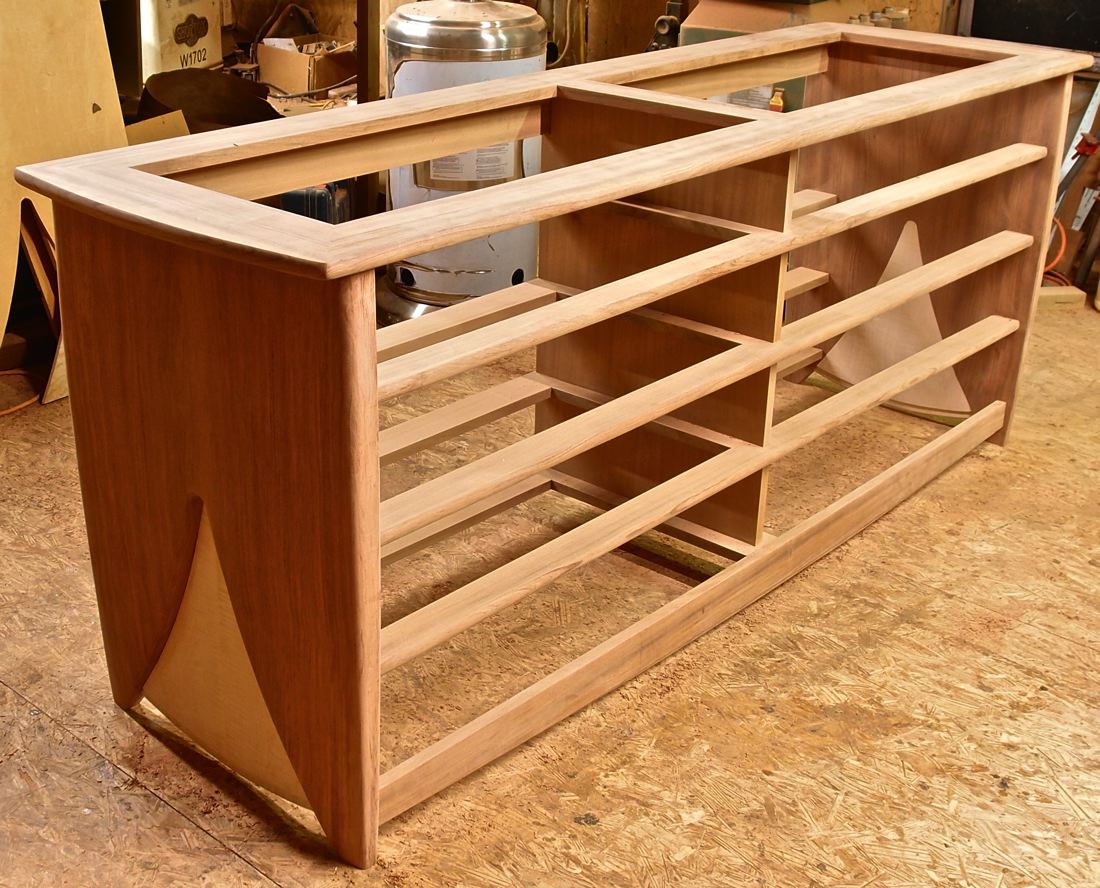
The resulting tapered sides looked great. What lovely chunks of solid wood!

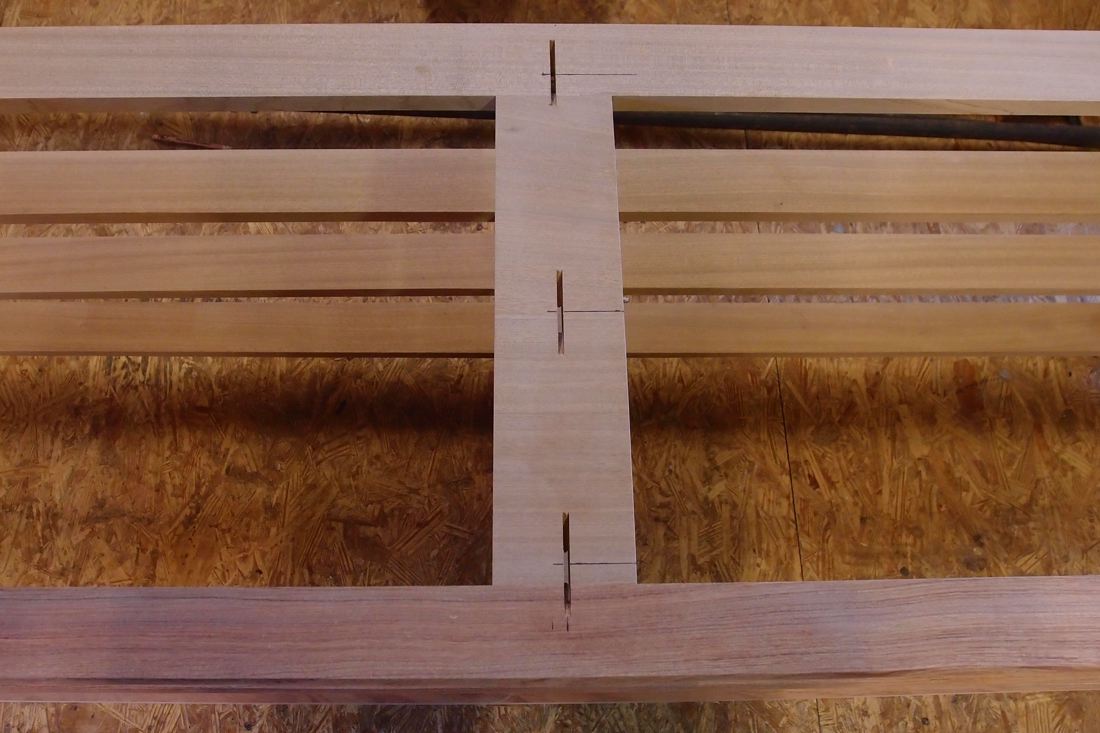
Next. I now had to make frames for the drawers of this dresser to ride on and then do the mortise and tenon joinery to attach these frames to the sides. This was a process requiring extreme accuracy. I won’t bore anyone with the details other than to say I used plywood spacers to locate the exact position for the mortises cut in each side. The mortises were created using a Festool Domino joiner.


wonderful work…